A floor patch is merely a “patch”; you apply it to small sections. The purpose of patching material is not to “level” or even “flatten” a substrate.
In most cases, a patching material is suitable if you have some seams, “bird baths,” or minor imperfections. Despite being a widespread practice, applying a “skim coat” only serves as a weak preparation. The use of a water-based adhesive can degrade and disbond that skim layer if the material is not designed to retain moisture. To reach a layer thickness of about 1/8″ to 1/4″, you will need to sand in between two or three applications. By that time, you have spent a lot of time, money, and materials to achieve very little.
Just use a leveling compound to level a floor and a patching material to patch a floor. Pouring a leveling compound is necessary if you want to level or flatten a floor entirely. It will give you a far better surface for flooring installation and be quicker and more economical.

Uneven flooring can make it difficult to arrange furniture, present a trip hazard, and even prevent you from installing a new floor.
Reasons of Uneven Floors
Before you start leveling your floor, try to figure out what caused the unevenness in the first place. Here are a few common causes:
Factors that might cause subfloor warping include foundation settling, moisture damage, improper installation, natural building materials, and structural concerns, including sagging floor joists.
Identifying the root cause tells you whether you need to treat any underlying issues before leveling the floor. In some circumstances, especially when dealing with structural issues, you may need to contact an expert before proceeding.
Assessing the Floor’s Condition
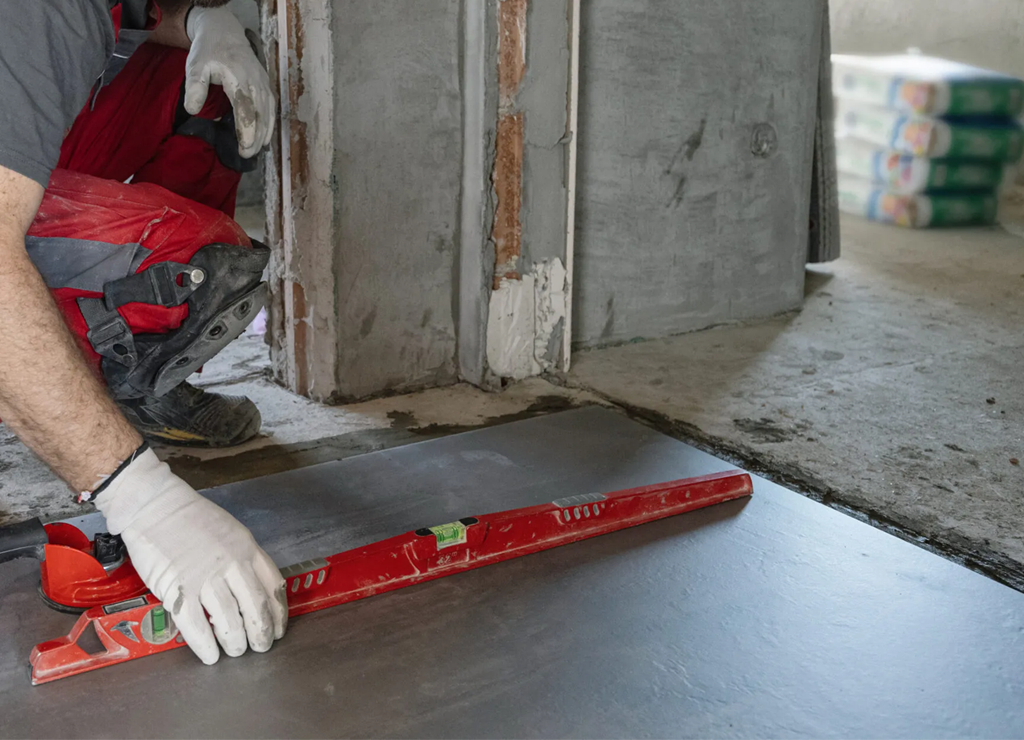
Identifying High and Low Spots: Before you start leveling, identify your floor’s high and low spots. This helps determine where to focus your efforts.
Start using a long straightedge, such as a level or a straight board. Place it on its edge and move it across the floor in different directions. Look for gaps under the straightedge. Gaps indicate low spots. Then, look for areas where the straightedge rocks. Rocking indicates high spots. Mark these areas with a pencil as you go.
Measuring Floor Unevenness: Once you’ve identified the high and low spots, use your measuring tape to check the gaps under the straightedge at the low spots. Remember, you’re aiming for no more than 3/16-inch variation over a 10-foot span.
For a more precise measurement, use a laser level. Set it up in the center of the room and project a level line across the floor. Measure the distance from this line to the floor at various points to get an accurate picture of the floor’s contours.
Preparing the Floor for Leveling: Proper preparation is key to successful floor leveling. First, clean the floor and remove any debris, dust, or loose material. For wood subfloors, check for loose nails or screws and secure them. Remove any protruding fasteners that might interfere with the leveling process.

Finally, if you’re using a self-leveling compound, apply a primer to the floor according to the manufacturer’s instructions. This helps the compound adhere properly to the subfloor.