Texturing a hardwood floor is an effective way to give it a unique, rustic, or antique character. The process involves physically altering the surface of the wood planks before staining and sealing.
Here is a detailed explanation of three popular texturing methods you can do yourself.
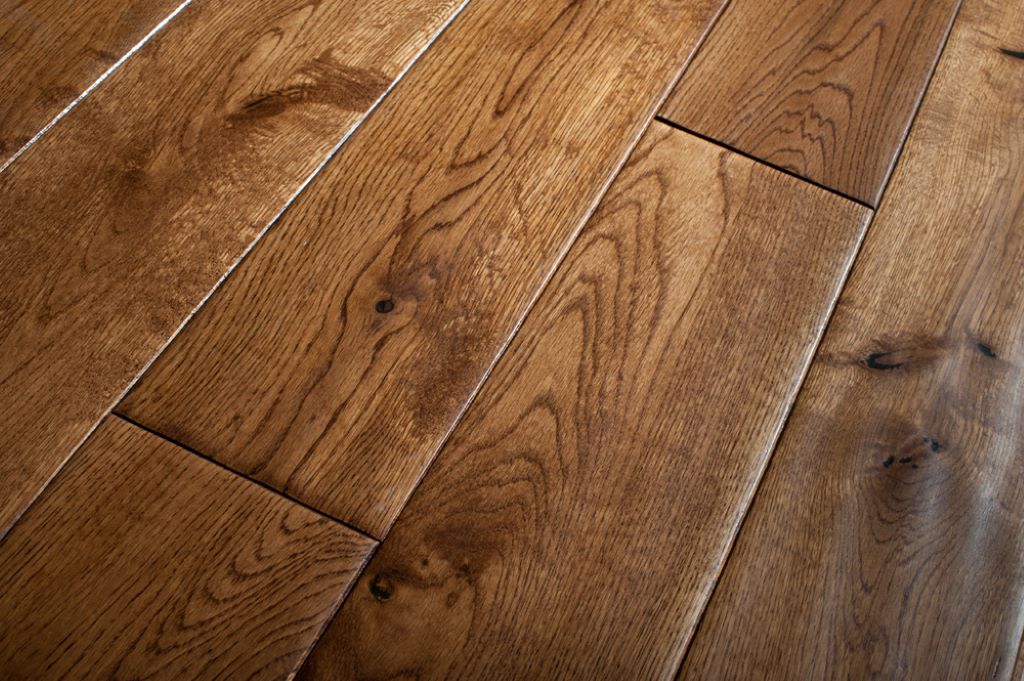
Hand-Scraping (For an Antique, Worn Look)
This is a labor-intensive but highly customizable technique that creates long, subtle grooves and undulations, mimicking floors smoothed by traditional craftsmen.
Tools & Supplies
- Hand scraper, card scraper, or draw knife (ensure the blade is sharp).
- Fine-grit sandpaper (around 100-120 grit).
- Knee pads and safety gloves.
Step-by-Step Instructions
Preparation: Ensure your floor is clean and free of any old finish. It’s often easiest on new, unfinished planks.
Practice: Practice your scraping technique on a piece of scrap wood. Get a feel for the angle and pressure needed to remove a thin layer of wood without digging in too deep.
The Scrape: Start at one end of a board. Hold the scraper at a slight angle (around 45∘), lean into it, and pull or push along the grain.
Embrace Irregularity: The key to an authentic hand-scraped look is inconsistency. Vary the length, depth, and overlap of your strokes. Do not try to make it uniform.
Address High Spots: Use the scraper to target any visible high spots or rough edges on the planks.
Light Sanding (Optional): Once you’ve scraped the entire floor, use fine-grit sandpaper to lightly smooth out any excessively rough edges or burrs that could cause splinters. The goal is to smooth the edges of the texture, not to remove the texture itself.
Clean Up: Thoroughly vacuum all dust and wood shavings before staining.
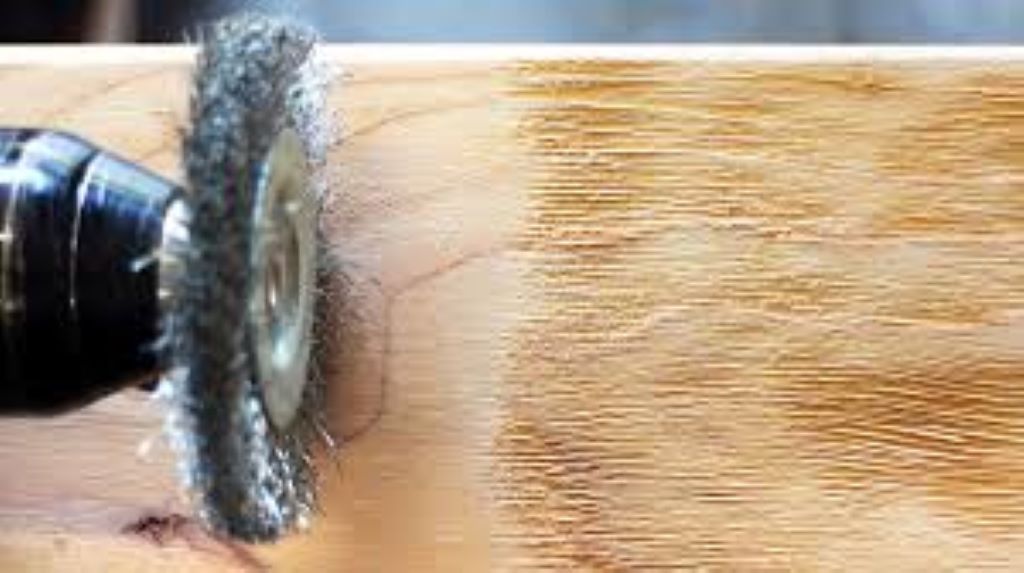
Wire-Brushing (To Accentuate the Wood Grain)
This technique removes the softer wood (springwood) from the surface, leaving the harder wood grain raised and pronounced.
Tools & Supplies
- Stiff wire brush (carbon steel or brass).
- An angle grinder, drill, or specialized floor buffer attachment.
- Water or a water-misting bottle (optional, to “pop” the grain).
- Tampico brush (for cleaning).
- Safety glasses and a dust mask.
Step-by-Step Instructions
Preparation: Ensure the floor is clean and any previous finish is removed.
Water-Popping (Recommended): Lightly mist a section of the floor with water. This helps open up the wood grain, allowing the wire brush to dig deeper into the soft wood.
The Brush: Attach the wire brush to your power tool. For a handheld grinder or drill, work in small, manageable sections. For a large floor, a specialized buffer attachment is often used.
Wire-Brushing: Run the wire brush with the grain of the wood. Apply consistent, light pressure and let the brush do the work. The goal is to selectively abrade the soft wood, creating a textured surface where the grain lines are visible and tactile.
Overlap: Work methodically across the entire floor, ensuring you overlap your passes slightly to maintain an even texture. You generally cannot “over-wire-brush,” but you should maintain a consistent look.
Deep Cleaning: Use a vacuum and a stiff Tampico or nylon brush to remove all the fine wood powder and dust that has settled deep in the newly created grooves. This is a critical step for an even stain application.
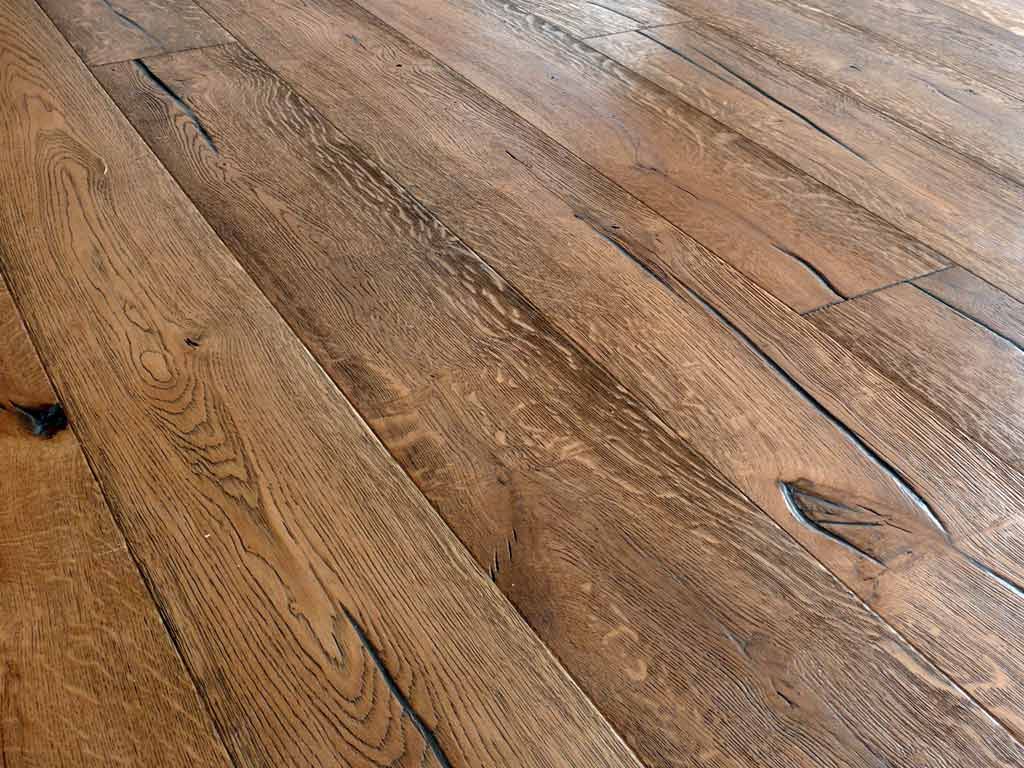
Distressing (For a Heavily Aged, Vintage Look)
This method involves intentionally inflicting random damage on the surface to replicate decades of wear and tear.
Tools & Supplies
- Hammer, mallet, awl, screws, bolts, or a metal chain.
- Metal meat tenderizer.
- Pliers (to remove embedded objects).
- Safety glasses and knee pads.
Step-by-Step Instructions
Select Your Tools: Choose tools that will create a variety of marks. Randomness is the key.
Add Scratches/Gouges: Use the edges of screws, mallets, or the points of an awl to create sporadic gouges or wormhole effects.
Create Dents: Use the claw or face of a hammer to make dents. Vary the angle and force for different-looking impacts.
Use a Chain: For a great random pattern, gently swing a length of metal chain onto the wood, or drag it across the surface.
Focus on Logic: Concentrate more heavy distressing in areas that would naturally see high traffic or abuse (e.g., near doorways, edges of the room), while keeping low-wear areas slightly less distressed.
Avoid Patterns: Be random! Step back frequently to ensure you’re not creating a noticeable, repeated pattern.
The Final Finish (For All Textures)
No matter which texture you choose, you must complete the process with staining and a protective finish.
Clean: Deeply vacuum the floor to remove all debris, splinters, and dust. For textured floors, a final wipe with a tack cloth or mineral spirits is often necessary.
Stain (Optional): Apply your stain, following the manufacturer’s directions (usually wiping it on and immediately wiping off the excess).
Texturing a hardwood floor—whether in real life or in digital design—adds depth, character, and realism to your surface.
- For physical wood flooring, techniques like wire brushing, hand scraping, and distressing can give your floor a rustic, aged, or handcrafted feel. Always finish with stain and sealant to protect and enhance the texture.
- For digital models, applying high-quality texture maps (diffuse, normal, roughness) and proper UV mapping creates a visually convincing hardwood surface. Software tools like Blender, Unreal Engine, or SketchUp support advanced texturing workflows for realism and detail.
In both cases, texture is what brings the wood to life—highlighting the grain, imperfections, and natural beauty that make hardwood flooring stand out.