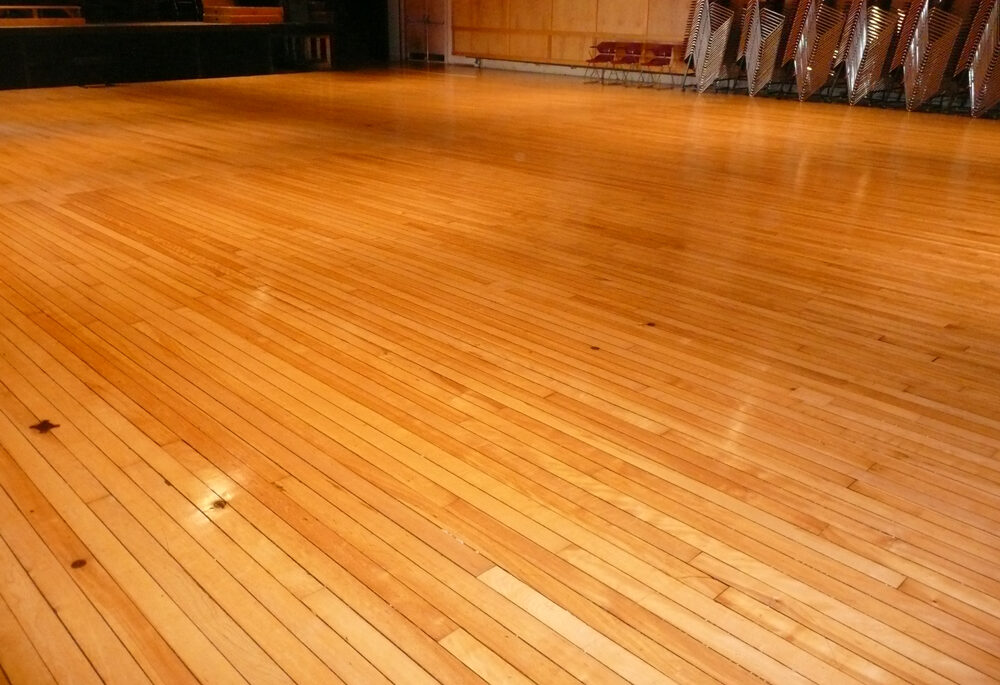
Maintaining and repairing gym floors is crucial not only for their visual appeal but also for the safety of those who use them. While some procedures are quick and easy, others require more time and expertise to achieve the desired results.
Gym Floor Maintainece
To keep your gym floors in good condition, it’s crucial to keep them clean. Unfortunately, this is often overlooked. Here are four simple tips to help you maintain your gym floors:
- Minimize fluids on the floor: Sweat, spit, and other body oils can damage the hardwood. If you can’t afford an automatic scrubber, be sure to mop the floor after significant activity to prevent fluids from building up.
- Avoid chemicals: Some chemicals and solvents on the market can damage your finish and even the wood itself. A simple mop with warm water will do wonders for your gym floors.
- Remove dust: Use a microfiber dust mop to remove dust and dirt from your gym floors. No cleaning spray is needed!
- Limit exposure: chairs, metal and hard plastic casters, and certain types of equipment can cause damage to your gym floors. Be sure to have a policy in place that limits the amount of contact your floors have with things that can damage them.
Repair your gym floor
For minor scratches, cracks, or dents, you can do hardwood gym floor repairs yourself. You’ll need fine-grit sandpaper, a suitable wood filler, and a finish that matches the existing floor. As long as the wooden subfloor is intact, you can do these DIY repairs without calling the professionals.
Here’s a step-by-step guide for DIY hardwood gym floor repairs:
- Clean the area: Thoroughly clean the scratched or damaged area using a soft, damp cloth to remove dirt and debris.
- Assess the damage: Evaluate the depth of scratches, dents, or cracks. If the damage is superficial, you can proceed with a simple repair.
- Lightly sand the affected area: Prepare the repair area using high-grit sandpaper to remove the top layer of finish.
- Fill the gaps: Use a wood filler that matches the floor color to fill small gaps, deep scratches, or dents. Allow it to dry as per the manufacturer’s instructions.
- Sand the repaired area: Use fine-grit sandpaper to gently sand the repaired area once the filler is dry. This smooths the surface and blends the filler with the surrounding wood.
- Clean again: remove any dust created during sanding and clean the area with a soft cloth.
- Apply stain or finish: Apply a matching stain or finish to the repaired area. Use a small brush to mimic the surrounding floor color carefully. Allow it to dry completely. Buff with a dry, soft cloth.
By following these tips, you can keep your gym floors in excellent condition and make minor repairs yourself. However, for more significant damage or extensive repairs, it’s best to call in the professionals.
Finish for hardwood gym floor
Selecting the appropriate coating for a hardwood gym floor is crucial for its longevity and resilience. Two common finishes utilized for hardwood maple sports floors are oil-based and water-based finishes.

Oil-Based Gym Floor Finish: This particular type of wood floor finish is renowned for its robustness and ability to withstand wear and tear. It imparts a warm, amber hue to the floor, enhancing the wood’s natural beauty.
The pros are that they offer a durable, long-lasting finish that accentuates the wood’s natural beauty.They also are resistant to scratches, scuffs, and moisture.
The cons are that they emit strong fumes, and are challenging to clean, necessitating harsh chemicals. They require extended drying time before use, and they are more expensive than water-based.
A water-based finish for hardwood gym floors is gaining popularity due to its ease of application and relatively eco-friendly nature.
The pros are that they are environmentally friendly with fewer harmful chemicals and VOC emissions. Quick drying compared to oil-based finishes. Provides a clear, natural appearance while resisting yellowing and fading.
The cons are that they are less durable than oil-based finishes. Require more coats for the desired finish, and may raise wood grain necessitating additional sanding. They are not ideal for high-traffic or commercial areas.