
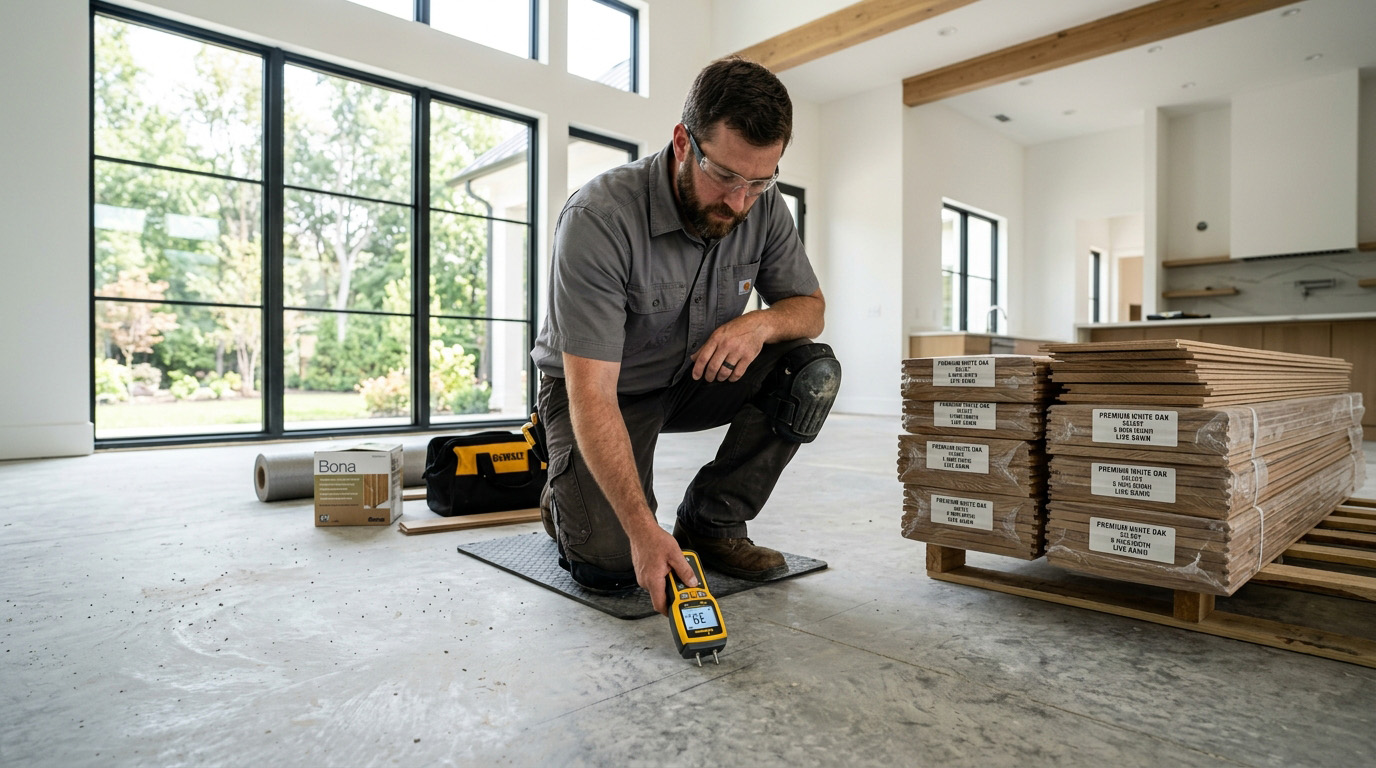
A beautiful hardwood floor starts long before the first board is installed.
One of the biggest factors affecting the long-term performance of hardwood flooring isn’t the wood itself—it’s the condition of the subfloor underneath it.
Whether the flooring will be installed over concrete or plywood, excess moisture can lead to problems such as cupping, buckling, gaps, adhesive failure, and squeaky floors months after the installation is complete.
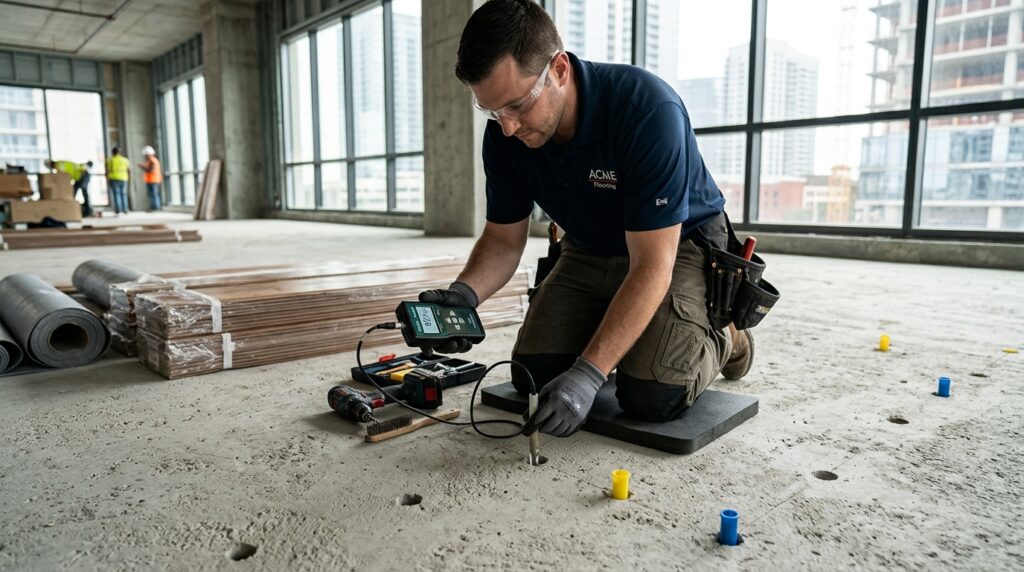
That’s why professional moisture testing is considered one of the most important steps before any hardwood installation begins.
Moisture Is One of Hardwood’s Biggest Enemies
Hardwood is a natural material that continuously responds to its environment. When exposed to excess moisture, it expands. As it dries, it contracts.
Some seasonal movement is completely normal, but excessive moisture coming from the subfloor can cause movement far beyond what the flooring was designed to accommodate.
The result may include:
● Cupping or crowning
● Buckled boards
● Gaps between planks
● Adhesive failure
● Squeaky floors
● Premature finish damage
Many of these issues don’t appear immediately. They often develop weeks or even months after installation.
The Subfloor Matters Just as Much as the Hardwood
Every hardwood floor depends on a stable, dry foundation.
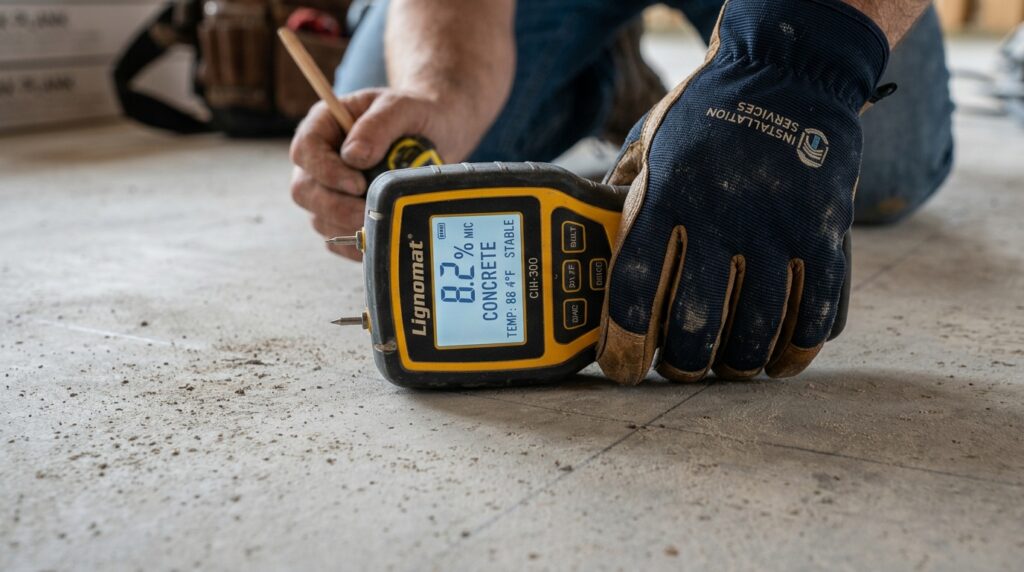
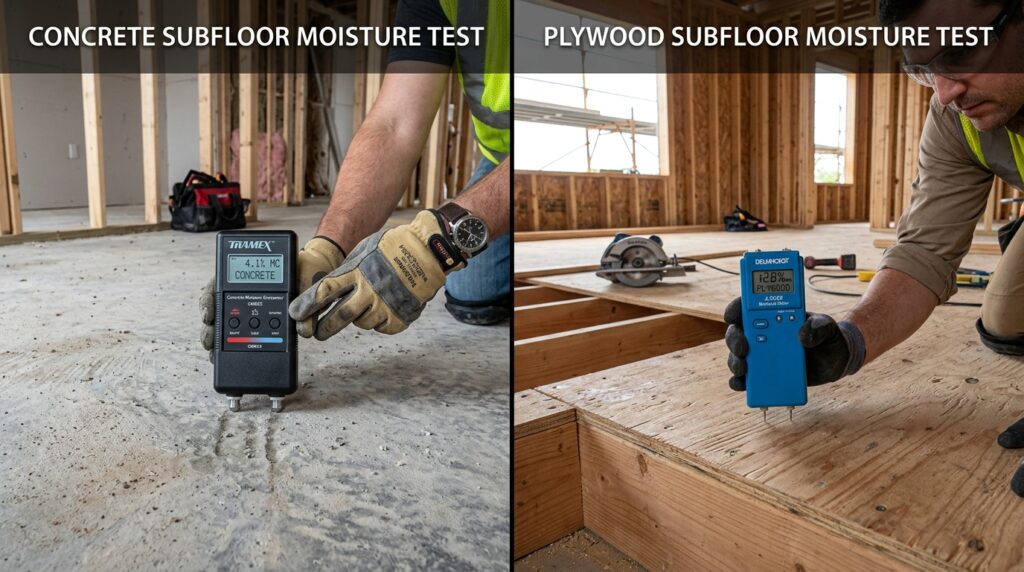
Concrete and plywood behave very differently, but both can retain moisture capable of damaging a new floor.
Concrete slabs may continue releasing moisture long after they appear dry, while plywood can absorb moisture from crawl spaces, plumbing leaks, or high indoor humidity.
Because moisture isn’t always visible, appearance alone is never enough to determine whether a subfloor is ready for hardwood.
Why Professionals Don’t Guess
One of the biggest misconceptions is that a subfloor is ready simply because it looks dry.
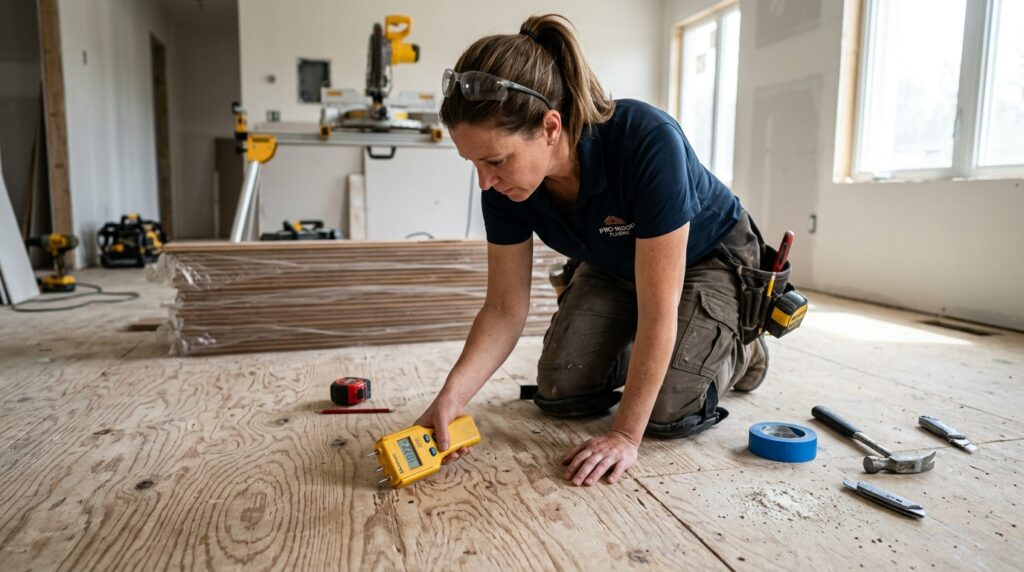
Professional installers verify moisture conditions before installation rather than relying on appearance or experience alone.
Depending on the type of subfloor, this may involve specialized moisture meters, concrete humidity testing, or other manufacturer-approved methods.
These measurements help determine whether the flooring, subfloor, and jobsite conditions are suitable for installation.
Every Manufacturer Has Moisture Requirements
There is no single moisture reading that applies to every hardwood floor. Acceptable conditions vary depending on:
● The flooring manufacturer
● Solid or engineered hardwood
● Installation method
● Type of subfloor
● Adhesive system
● Local climate
Professional installers compare moisture readings with the manufacturer’s specifications before installation begins.
Following these guidelines helps protect both the flooring and the manufacturer’s warranty.
Why Skipping Moisture Testing Can Become Expensive
Installing hardwood over a subfloor that hasn’t been properly evaluated can lead to problems that are difficult—and costly—to correct later.
Common issues include:
● Boards that expand after installation
● Cupping caused by moisture entering from below
● Buckling as pressure builds between planks
● Adhesives losing their bond
● Seasonal movement beyond normal expectations
In many cases, these problems require partial or complete floor replacement rather than simple repairs.
Moisture Problems Should Be Solved—Not Covered Up
If excessive moisture is detected, the solution isn’t to install the flooring anyway and hope for the best.
The source of the moisture should be identified and corrected first.
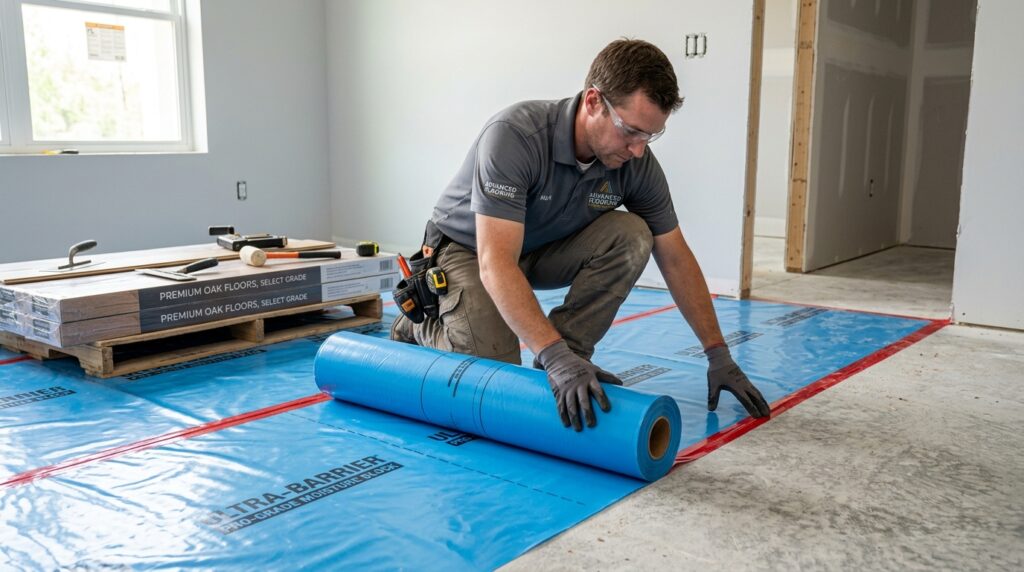
Depending on the project, this may involve allowing additional drying time, improving indoor climate control, repairing leaks, or installing an approved moisture mitigation system before hardwood is installed.
Taking the time to address these conditions helps create a stable foundation for the new floor.
Final Thoughts
Moisture testing isn’t just another step in the installation process—it’s one of the best ways to protect your investment.
Because moisture isn’t always visible, professional installers rely on testing rather than assumptions to determine whether a subfloor is ready for hardwood flooring.
Verifying conditions before installation helps reduce the risk of movement, adhesive failure, squeaks, and other moisture-related problems, giving your hardwood floor the stable foundation it needs to perform beautifully for years to come.

Request a consultation:
renovaflooring.com
Visit our website for more inspiration and design ideas!