Did you just find old and forgotten hardwood floors hidden under an old carpet? Are your hardwood floors starting to look old? Don’t worry. Restoring those floors to make them look like new is not as difficult as it seems. It just takes some time and a little effort.
Best Way to Resand the Old Floor
To rejuvenate an old floor, you just need a few specific tools and materials. First, you should have a floor sander to remove the floor’s surface layer and make it as smooth as possible. A buffer and polishing machine may also be needed to give the floor a shiny finish. In addition, specific products such as stains, varnishes, and waxes are required to renew the color and shine of the floor. It is important to have gloves, a mask, and protective glasses to carry out these tasks safely and properly.
This approach is a renovation technique that allows you to improve the appearance and shine of the floor without having to carry out a complete job. The floor is sanded and polished to remove stains or scratches, and then a coat of resin is applied for a shiny finish.
First step: remove all floor coverings.
Second step: Clean the floor with a regular hardwood floor cleaner and let it dry thoroughly.
Third step: Use the hammer to sink the sticking nails well and fill the holes with the wood filler.

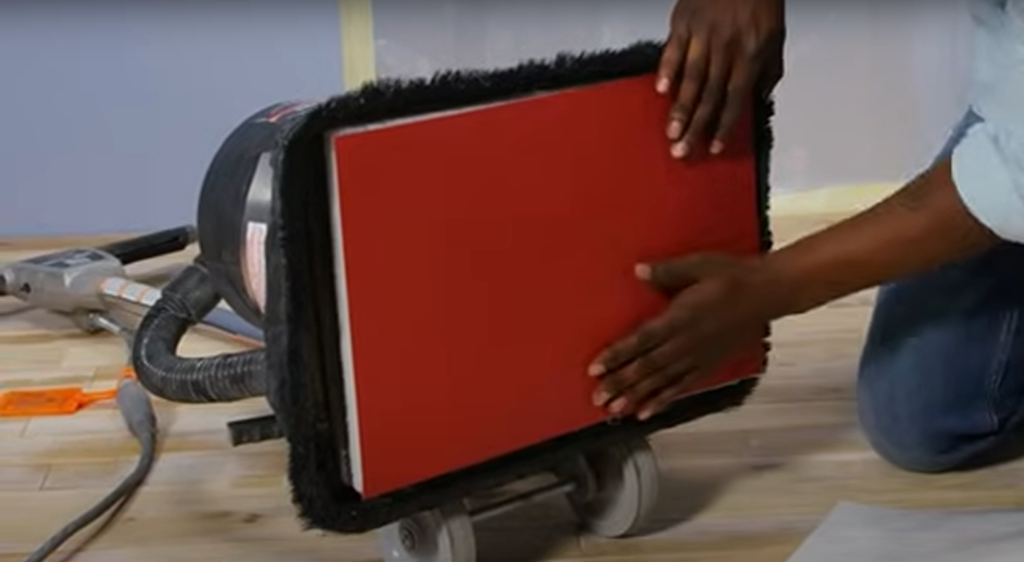
Fourth step: Now it is necessary to sand and smooth the floor. This part is complex because using a commercial polisher incorrectly can produce very bad results. You can hire a professional to sand the floor or rent an orbital sander, which is much less risky. If you opt for the orbital sander, guide it without any particular pattern until all the finish is removed. Then, take a finer-grit sandpaper and repeat the process. Finally, opt for an even finer grit, 80 or 100, to smooth the wood before applying the finish. Make sure the surface is completely clean and remove sawdust and particles that contaminate it.

How to sand a wooden floor with simple hand tools
Use an angle grinder, equipped with a 4.5” flap disc. It specifically attacks the scales between boards, allowing the work to be finished faster and with a correct result, keeping in mind that the floor will be smooth, but with undulations. This is because only the joints between the wooden boards are roughed out, but not in the center of these. This is because the disc sands optimally until the sandpaper becomes embedded in the sawdust of the wood.
Another angle grinder of 7″, with rubber support and 80 – 120 sandpaper. The result is more even, but it is the technique that takes the most millimeters off the board.
The last one you can use is the orbital sander for very delicate sanding.

